Showing posts with label pendant. Show all posts

Wednesday, May 8, 2013

Custom Commission: Final Steps

I am a little behind on my posting! In November of 2011 I began working on this commission piece and here are some of the final photos of it before it left my hands. The client was planning to have it gold plated, but I haven't heard if she has done that yet.
If you would like to see the post on my previous progress click on the links below:
Custom Commission
Custom Commission Continued


I was unable to permanently attach the last bits. Due to the plating process the pearls could not be attached yet, so I took a photo of what it might look like when done.


With some creative assembling and photography, here is an accurate depiction of what the finished piece will look like except plated in gold. It was a great learning experience and I gained a new friend in the process.

Monday, December 17, 2012

Winter 2013 Classes at The Richmond Art Center

I recently re-located to the Bay area in California and will begin teaching classes at The Richmond Art Center in Richmond, California in January of 2013. Please check out the classes below and don't forget to get signed up as soon as possible!


Jewelry -All Levels
Explore the basics of jewelry and small metals fabrication. Learn the use of tools, how to saw, file, sand, and high temp silver solder with silver, copper, and brass. Create pierced sawing samples, band rings, and a bezel set stone pendant.  Explore various finishing techniques and surface treatments including polishing, rolling mill texture, patinas, and more. Intermediate students may learn the basics of enameling to create an enameled centerpiece or other techniques. 8 weeks
Class # W3J • Tue, Jan 22 – Mar 12, 2013, 6:30 – 9 pm
RAC Member $189 • Nonmember $210

Casting: Organics and Found Objects
Amazed by the world around you?  Do you bring home objects every time you go for a walk? Want to preserve them for a lifetime? Learn an interesting twist on the Lost Wax method of casting molten metal. Use organic materials and found objects such as seed pods or plastic toy parts to convert to silver or bronze. Sprue, Cast, and finish your casting as completed Jewelry or as an element for a future jewelry piece or Sculpture. 4 weeks
Class # W18J • Wed, Feb 6 – Feb 27, 2013 10:00 am – 12:30 pm
RAC Member $117 • Nonmember $130


Wednesday, March 14, 2012

Jewelry and Lapidary Student Exhibition March 15th & 16th, 2012

Mesa Art Center and the Festival of Creativity will be exhibiting student work from the Jewelry and Lapidary studios on Thursday, March 15th & Friday, March 16th.

This will be an outstanding showing you won't want to miss!


Tuesday, March 13, 2012

Sold and Off to Japan!


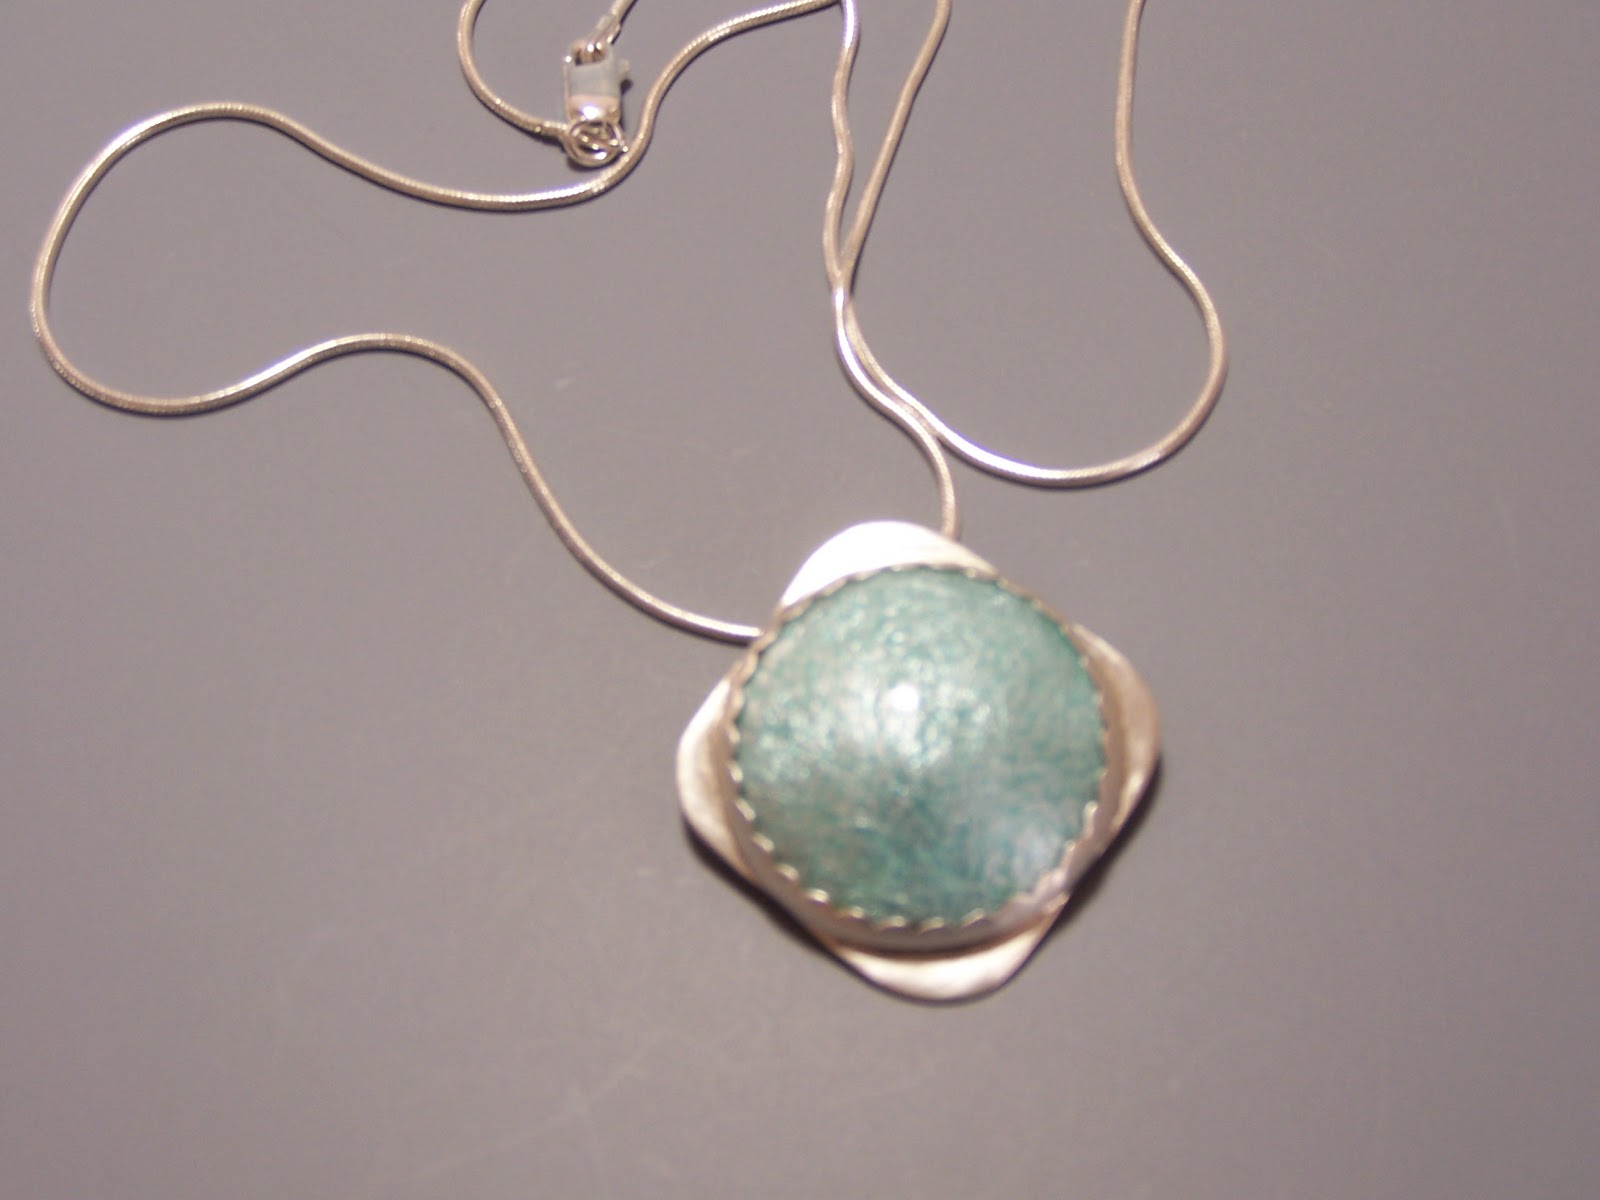
 This piece is made of vitreous glass enamel and fine silver foil on copper, set in sterling silver. It was purchased by a generous student of mine and sent to his sister in Japan for a gift. I am now waiting for some pictures of her wearing it. It was one of my favorites and was hard to part with.

Wednesday, November 9, 2011

Custom Commission Continued

This piece was time consuming because I had to stop and do some finishing work between adding the various stone settings. It would have been cumbersome to do the finishing after the settings were in the way.


A design challenge that I faced was how to attach the pearl settings.
The customer wanted a pearl to be placed between the round peridots, but the pearls could not be attached before the Gold plating was done. Her solutions was to solder the head pins that she wanted to use to the piece and then after the plating she would cut the head pins, slip on the pearls, and then glue the balled end of the head pin into the pearls. The problem, first of all, is that it was not a very strong connection to solder a small piece of wire to the side of the piece. The head pin could be just snapped off at any time, not to mention how difficult it would have been to set the stones around such a small wire without mangling it or breaking it off myself. Of course there is also the problem with having just a little bit of glue holding the pearls on in one small spot.
I experimented and tried to solder a wire with a soldering iron, in the hopes that maybe I could solder it on after the plating was done and with the pearls in place, so there would be no need for glue. Unfortunately, it didn't work, the soldering iron was just not hot enough to flow the gold filled solder that I had.
I finally came up with a solution by the time it came to solder on the head pin that I found satisfactory.
 My solution: to solder on small pieces of tubing with a tapered end. I nippled the end of the tubing in order to make the hole small enough for the head pin to be inserted with a tight fit. This way the head pin could be glued to the pearl and the tubing, hopefully creating a stronger bond. I also reamed out the pearls just enough to fit tightly on the head pin. I reamed a larger hole at one end of each pearl for them to slip slightly over the tube, thus being able to be glued directly to the tubing, again, creating a stronger bond. Another issue was that we were afraid the pearls she gave me might be a little too small in relation to the size of the piece. Adding the tubing pushed the pearls out further balancing the relationship of  size of the pearls with the layout of the whole piece giving the impression of a larger pearl.


More process photos to follow.
You can check out my original post to see where I started.
Original Post: http://hollycarter.blogspot.com/2011/11/custom-commission.html

Thursday, November 3, 2011

Custom Commission

I was commissioned to create a pendant for a wholesale order using the customers own center piece and stones. The center piece is an Italian cut glass intaglio and the stones are London Blue Topaz, Peridot, and Pearls. When finished the piece will be gold plated over the sterling silver. Her design was inspired by an antique piece she had seen.
I will continue to post pictures of my process.